Monday, July 31, 2017
Joint compound and ice-cream
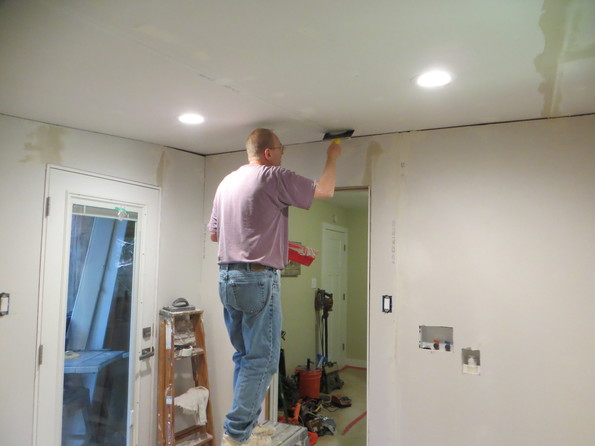
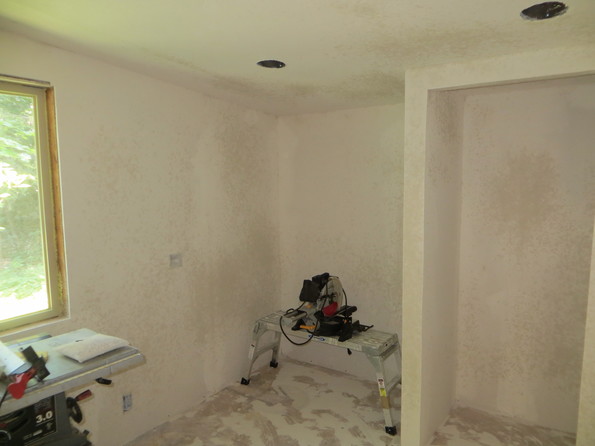
For once we got more done than we planned! Usually it’s the other way around and everything takes 4 times longer than planned. Maybe we’re not as picky about the walls and ceiling in the utility room, but we managed to get all the joints taped and sealed in one day. We definitely didn’t smooth out the joints as well as we had for the other rooms, but after laying down a bunch of texture, it really didn’t seem to matter.
So tape and two coats of joint compound left to dry overnight followed by a light sanding.

While waiting for the first coat to dry, we had time for a trip to One-Eyed Jacks for ice-cream.
Cover the doors, window, outlets/switches and give it a good spraying with texture.

We had everything cleaned up and put away by mid afternoon.
Todo list
Utility Room
-
Fix ant infested ceiling joist -
Get roof fixed/replaced -
Replace electrical boxes -
Add recessed lighting - Figure out washing machine drain
- Replace dryer vent
-
Frame new closet -
Seal up the room -
New insulation -
New drywall -
Texture drywall - Paint walls and ceiling
- Prep for tile floor
- Tile floor
- Grout floor
- Window and door trim
- Base boards
Monday, July 17, 2017
Rebuilding the utility room - part 2
Insulation and drywall supplies were procured and the walls of the room were insulated. Remaining progress was on hold while we waited for the new roof and ant damage repair. The main reason for waiting was because the last two recessed lights needed to attached to the damaged roof/ceiling joist. Once the repairs were complete, progress continued full steam ahead!
The two remaining lights were installed and wired up. The insulation was installed in the ceiling.
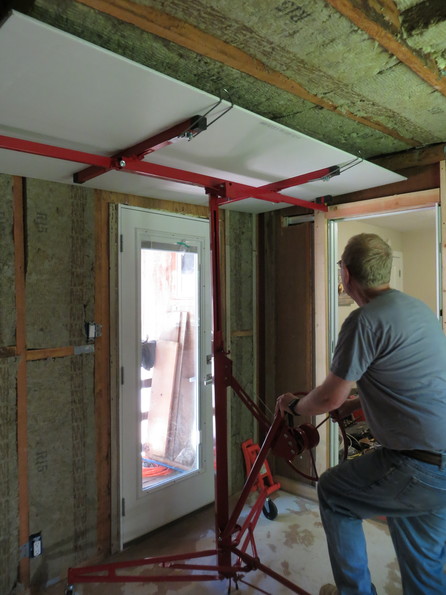
Since we were replacing the drywall on the ceiling and since we’re no longer youngsters who feel confident holding a full sheet of drywall over our heads while attempting to screw it in place, we opted to use a drywall lift. Turns out you can buy these for almost no money. A new drywall lift, capable of lifting a sheet of drywall 11 ft. in the air was delivered for $119 total. Assembly wasn’t too hard and it worked really well for the 2 (yes only 2) full sheets of drywall we put on the ceiling.

We kept the lift in place while cutting out the opening for the recessed lights and didn’t worry at all that the sheet may sag or fall.
The rest of the ceiling needed smaller pieces that were easy enough to hold while screwing them in place.
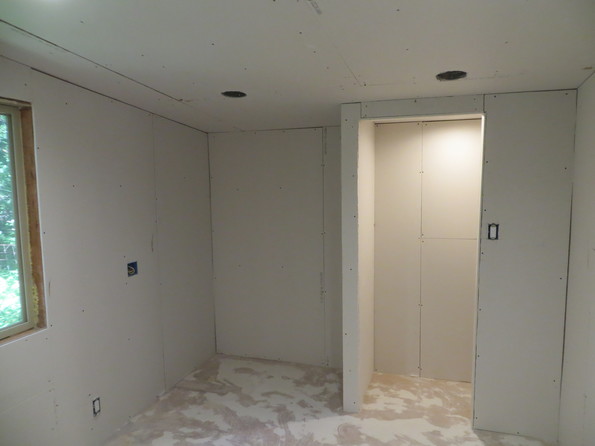
The room was not designed at all to make drywall installation easy. In fact, you’d be hard pressed to design a room that would make drywall installation more difficult. There is no single wall area where a full 4×8ft. sheet could be installed. The ceiling slopes from front to back and at it’s tallest, it’s 2” shy of 8ft. The studs are not arranged so that a 4ft. or 8ft. piece will have both ends land on a stud. Thus every single sheet had to be cut at least once, most had to be cut twice and many 3 times. Four of the pieces had to have holes cut for electrical/plumbing boxes. When we started it was taking about one hour to hang one sheet. That improved slightly by the end. We finished the weekend with a white room.

Todo list
Utility Room
-
Fix ant infested ceiling joist -
Get roof fixed/replaced -
Replace electrical boxes -
Add recessed lighting - Figure out washing machine drain
- Replace dryer vent
-
Frame new closet -
Seal up the room -
New insulation - New drywall
- Texture drywall
- Paint walls and ceiling
- Prep for tile floor
- Tile floor
- Grout floor
- Window and door trim
- Base boards

