Monday, July 30, 2018
Deck parts, some assembly required
With the load of lumber for the deck finally delivered it’s time to start the rebuild. Last time, we removed all of the front deck so we’re starting with a clean slate.
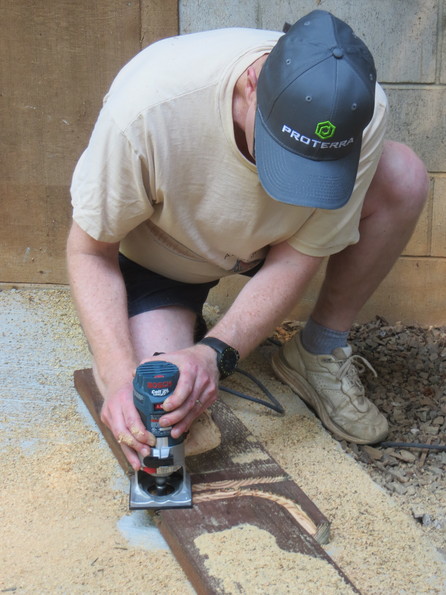
Step one is the ledger board. The original deck didn’t have a ledger board and thus, didn’t have any flashing. Based on today’s code for deck building, the original design is a bit suspect, but it did stand for over 40 years. We started by snapping a chalk line for the ledger board and then snapped a second line a bit higher for the flashing. We’re using a z-flashing that will be caulked into the siding just above the ledger. Cutting the slot for the flashing with all the trim in place was a bit of a challenge. There are also conduits with ground wires running from the electrical panel crossing the area where the ledger goes. My plan was to route slots in the back of the ledger board to provide clearance for the conduit.

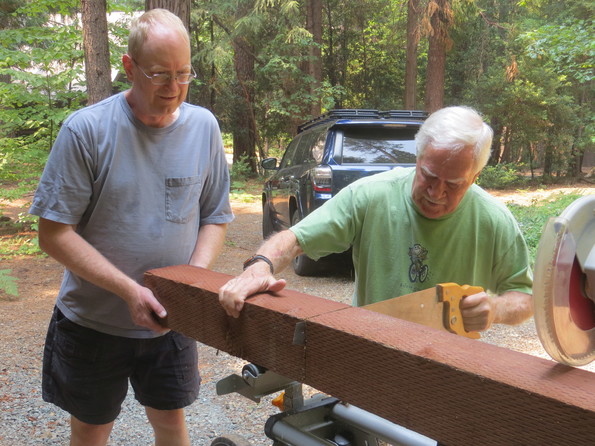
With the ledger board up, it was time to figure out how to cut the posts to the proper length. Each post needs to be a different length so we started at one end and set a temporary joist to mark post + beam height. Cutting the 6×6 posts was another challenge. The circular saw doesn’t cut quite deep enough to cut all the way through. The miter saw has even worse depth. We ended up using the circular saw to cut all four sides and then a hand saw to cut the last bit.

With the posts installed, it’s time to add some beams. We’re using 2 2×12’s laminated together for the beam. Those will be attached to the post with a couple adjustable post cap brackets. My original BOM list had these listed but they didn’t make it to the actual order. Without those, the beam can’t be installed. Without the beam, we can’t start installing joists, in other words, we’re done for the weekend.
Overall we made pretty good progress and finished what should be the most difficult parts of the assembly.

