Monday, August 22, 2016
The sting
Every now and again we need to step outside and do some yard work. This weekend, Genny pulled some weeds/plants from the driveway and we both raked up some leaves, stick, pine cones, and pine needles. Now that we’ve started, it’s more obvious how much more we need to do. I think Labor day will be yard labor day.
A couple of weeks back we noticed (well our guests noticed) a large wasp nest hanging off the shed overhang. Wasp spray was on the list, but we forgot it so the nest is still intact. I guess when I was banging around in the shed looking for a couple of pieces of wood, I woke them. When I left the shed and slammed the door, it must of irritated at least one wasp and it decided to sting me on the back of my arm. A good reminder that we really need to get some wasp spray. Larry, I think I have a job for you up at the cabin … just kidding.
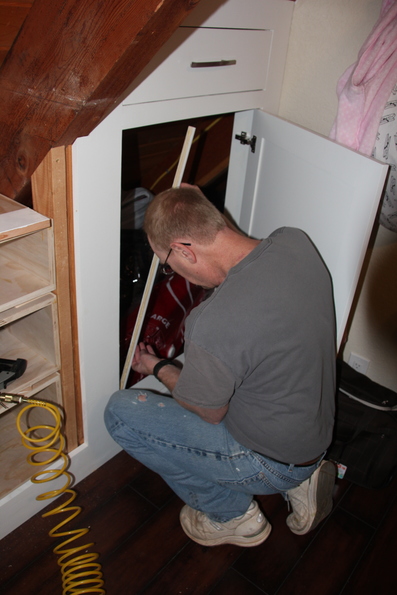
So far, with the drawer boxes, I’ve been building them the same size for each side of the room. We’ll, that’s about to change. The knee walls aren’t identical between the two sides and while the difference isn’t great, it’s enough to cause the top drawers to differ in height by about 1 inch.
A bunch of time was spent measuring the drawer box placement. Since the boxes are built at home then brought on-site to assemble and place, getting good measurements is critical.
This weekend we made the side trim pieces for the center drawer stacks. Again, they are slightly different from side to side. Once we had the trim pieces fitted, we started looking at how the drawer boxes align and what additional work is needed before we can mount the drawer slides. While thinking about this we realized that the tip out drawer above the drawer stack was going to be a problem. For the cubby and storage areas we can get behind the tip out drawer and we needed to do that to reach the hinge screws. With drawers in place, there’s no way to get behind the tip out drawer (and thus, no way to install the hinges). The only solution seems to be to build the drawer trim as a face frame, build and install the tip out drawer in the face frame trim and then, once it’s all built, attach it to the knee wall. At least we figured this out before attaching the trim!
We installed the door stops for the storage area knee wall doors. It’s just a small thing, but now with the doors aligned properly when closed, it just looks so much better.
Back bedroom
-
Dog cubby baseboard -
Dog cubby outside trim - Figure out knee wall design — getting close
-
Knee wall door trim -
Build/install bookcase -
Install hangers for clothes - Install drawer carcasses — a couple are set in place
- Install drawer boxes
- Install drawer trim
-
Install baseboard - Trim wall to ceiling corners
- Install conduit for ceiling fan — almost finished
- Build new ceiling fan mount
- Install new ceiling fan
Front bedroom
-
Paint balcony door - Frame knee walls
- Trim knee walls
- Door for closet
- Drawers and doors for knee walls
- Install baseboard
- Install wall to ceiling corner trim
- Install conduit for ceiling fan
- Build new ceiling fan mount
- Install new ceiling fan
- Install grill cover for vent fan
- Install window blind
Tuesday, August 2, 2016
What to do when staying at the Scary Cabin (part 1)
It’s been just over three years since we bought this cabin in the woods and we’ve been working pretty much non-stop remodeling it. Seems like it’s about time for a break. So we decided to take some time off from work and from cabin work and explore the area a bit.
Day 1.
We had previously taken a drive to Quincy and passed through Grey Eagle and the Basin Lakes area on the way back. It looked like there were some nice hiking trails out that way so that was our first stop. After doing some research it looked like there was a nice hiking trail called the Bear Lake Loop so we made that our destination. Suspecting that this area could get quite crowded on a weekend, we opted for a Friday instead. It’s about a 2 hour drive from the cabin to the Basin Lakes area. To our surprise, the parking area for this trail was packed with some cars lining the narrow road leading up to it. We managed to find a wide area just down the road a bit. We started on the trail heading towards Big Bear Lake. The trail is well defined with nice views and at this point you’re headed a bit up-hill. When we got to Big Bear Lake, we detoured to get to the shore and worked our way around the lake to a somewhat secluded spot. There we let Sandie swim a bit and Duke got his feet wet.
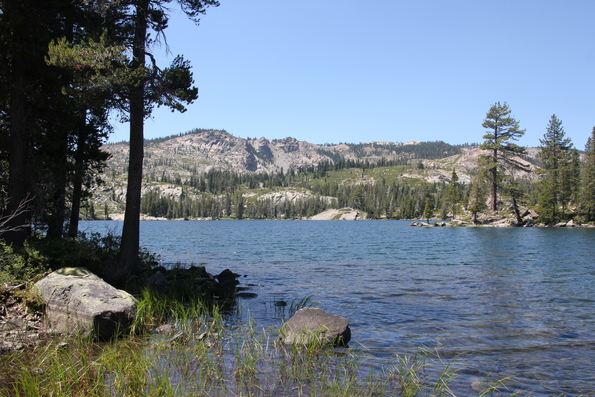
After our rest stop, we continued on the trail to Little Bear lake. Little Bear lake is quite small compared to Big Bear lake. We didn’t stop, but continued up the trail to Cub lake. Cub lake is very small.
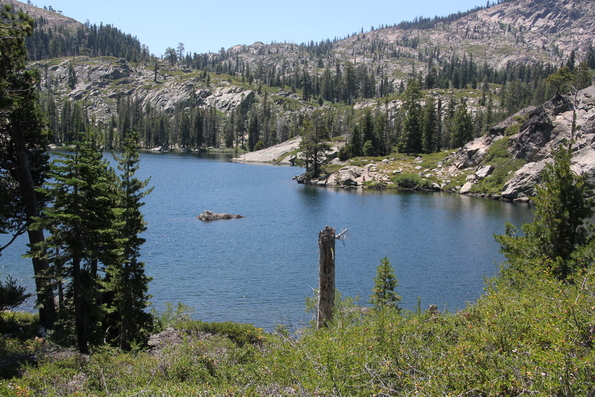
At that point we decided to try and make it to Long lake but Sandie’s feet started to get messed up by the hot rocks on the trail and instead, we headed back.
We also checked out a couple of other locations. There is a Fern Falls trail that leads to a water fall, it’s a short, paved trail, but we were told no water was flowing and we knew Sandie couldn’t handle the hot pavement so we’ll leave this one for another day.
Then we drove down to Salmon lake. The crowd there was much larger and parking was non-existent. This seems to be a popular lake for boating as there is a boat ramp. There’s also a lodge on the other side of the lake and the only way to get to it is to cross the lake in some kind of watercraft.
The trip there and back passes through a couple of stop worthy towns. Sierra City and Downyville. A lunch trip to Downyville would make a nice trip. There’s an old gold mine in Sierra City, the Kentucky mine. They do have tours so we’ll have to check that out at some point.
Day 2.
We planed to drive a couple of segments of the Backcountry Discrovery drive that the forest service put together. We started just outside of Laporte and headed towards Gibsonville on the old gravel/dirt roads. The guide does a good job of directing you and pointing out interesting historical sites. The road is fairly rough in places. Along the first section we did find a small steep spur that ended at the top of hill with great views. This would make a good stop for lunch if timed right. The first segment ends at Harrison Flat.
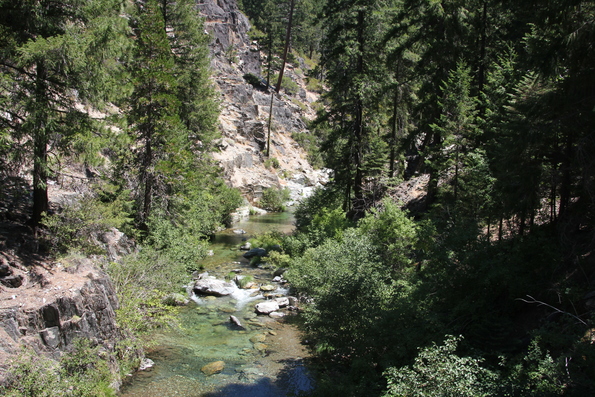
The second section is more of the same but with less historical sites. The second section ends at Hwy 70. We hadn’t planned on doing the third section but it did take us back toward home and the book said it was the easiest section of them (or something to that effect). Turns out they lied. The road was very rough and overgrown. We ended up with lots of pinstripping on the 4runner. I don’t think we’ll be doing that section again any time soon.
Day 3.
We had two goals for this day. Check out the Feather Falls trail and Big Bald Rock. The first stop was the Feather Falls trail. This trail is a bit more difficult than what we’re currently capable of so we only hiked in about a 1/2 mile. For that section at least, the tail is well maintained. Probably best to do this earlier in the year with cooler temps and more water for the falls. On the way back to the main road we turned off to investigate what looked like Lake Orville access. We did find an unmarked area that allowed us to drive almost to the water’s edge. This could be a good place to take the dogs swimming. After that, we stopped in Orville for lunch and to wash the dust of the 4runner. Then it was on to Big Bald Rock. The tailhead doesn’t look like anything special but then you encounter this:
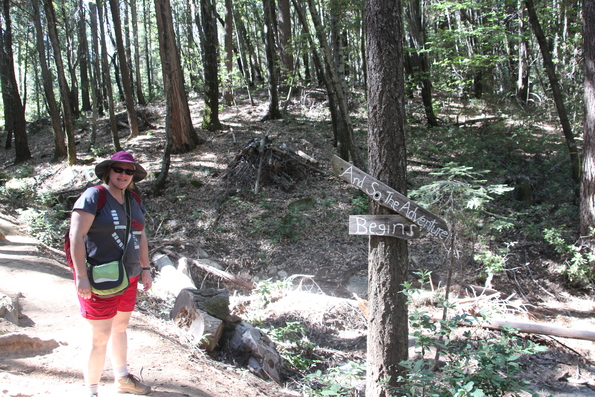
After a short walk (the tail is only about a 1/4 mile) you get to the main attraction. Rocks, lots of rocks.
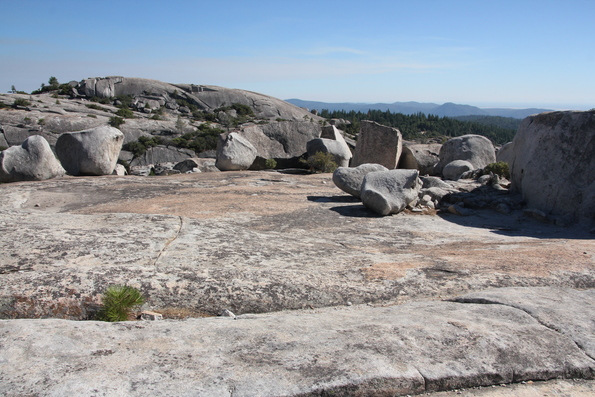
You can wander in and around the rocks for hours marveling at the strange shapes that mother nature has created. The only real downside is that there isn’t much shade so be prepared.
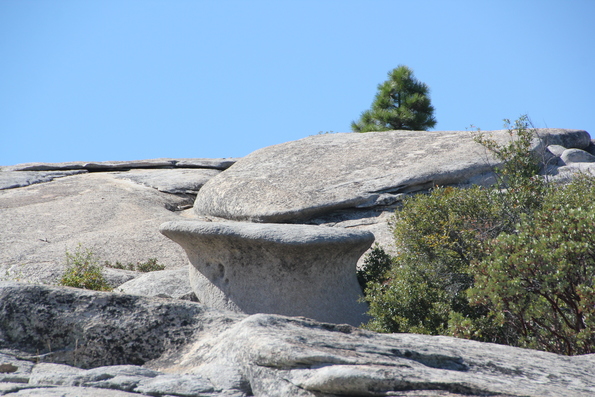
It was a lot of driving over 3 days, but now we have a better idea of what’s around and are excited by the prospect of more exploring.

