Monday, August 20, 2018
Deck Assembly - Joist, Beams, and more
With the front deck framing mostly complete, we turned our attention on the side deck. First step was to tear down the old. It was just the two of us working on this but we managed to fill up the trailer with more than half of the deck and haul it off to the dump. We then ripped down the remaining bits and hauled that off too.
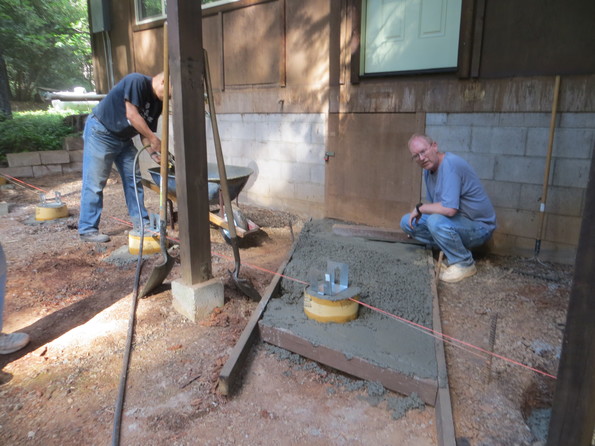
We then started rebuilding. The first step was to install the ledger board. With the ledger board in place, we poured new pier blocks on top of the existing footings. Once those set up, we cut and installed the posts. At this point we realized that we didn’t have the brackets to attach the beams to the posts. We also got a good look at the existing posts that hold up the porch overhang. The old deck had joists nailed to the side of these posts and that collected moisture/debris causing some rot in the posts. We made an executive decision to replace the posts now while we had easy access to them. Without posts or brackets, we were done until we picked up more supplies.
Apparently the brackets we’re using to attach beams to posts are not commonly uses (don’t know if that’s a good thing or a bad thing). We ordered what we needed from Home Depot, but unlike our previous order, they were going to arrive too late so we started searching and finally found enough to handle the next part of the build.
We wanted to spend a bit more than a 2 day weekend so took a couple of days off to make it a 4 day weekend. We also got help form Larry and Barbara. First order of business was to replace the overhang posts.
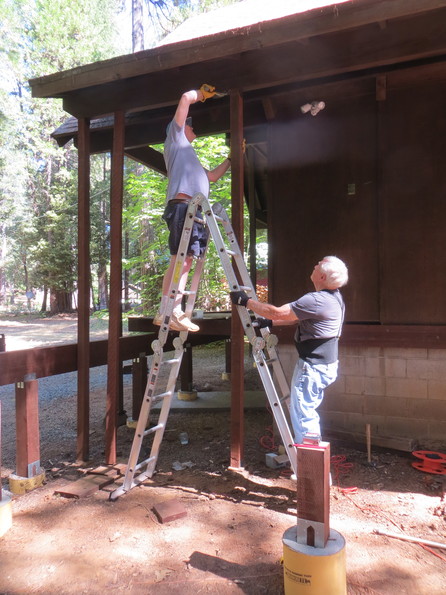
We did learn that a falling 4×4 post has enough force to shear the iron water line for the out side faucet. That added a bit of excitement.
With the posts replaced and looking nice and solid, we moved on to the beams. A couple of cuts and a bunch of nails and we had beams.
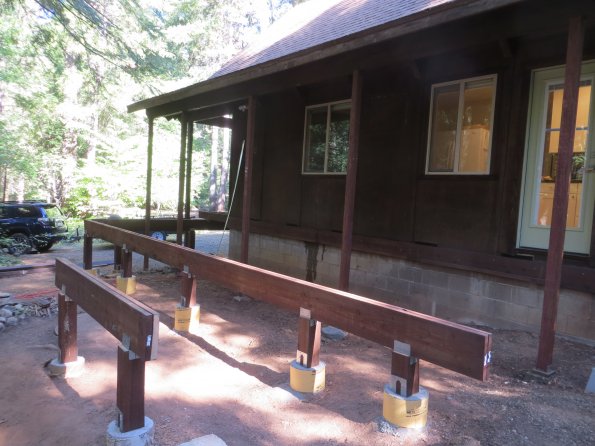
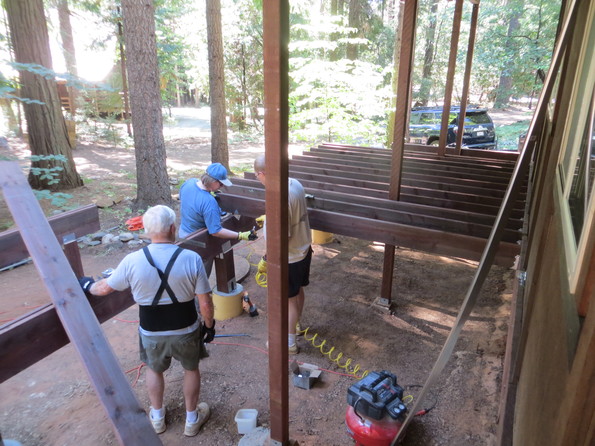
The rest of the time was spent cutting and fitting joists with a small break in between to cut and install posts for the lower deck.
Wednesday, August 8, 2018
Deck Assembly - Joist and Beams
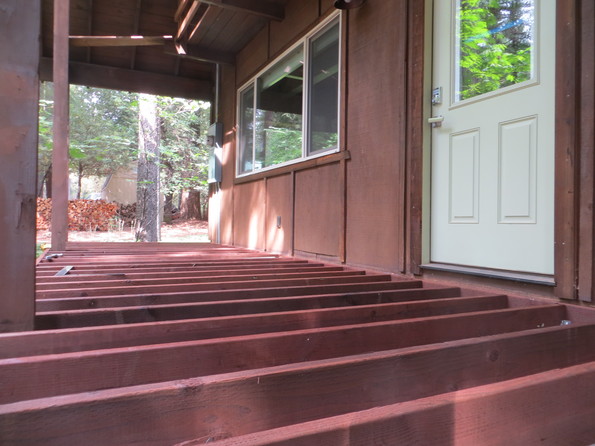
The front deck structure is coming along nicely. There’s nothing really magical about building a deck, just a lot of measure, cut, nail. Lots of nailing.
Since we’re using composite decking, the structure needs to be more ridged to prevent bouncing. Thus we’re taking the approach that there’s no such thing as overbuilding. Everything is nice and beefy with lots of joists, did I mention lots of joists? Hammering in all those joist hangers and hurricane ties gave the new palm nailer a good workout. It also gave our ears a good workout, it is kind of annoyingly loud.
Monday, July 30, 2018
Deck parts, some assembly required
With the load of lumber for the deck finally delivered it’s time to start the rebuild. Last time, we removed all of the front deck so we’re starting with a clean slate.
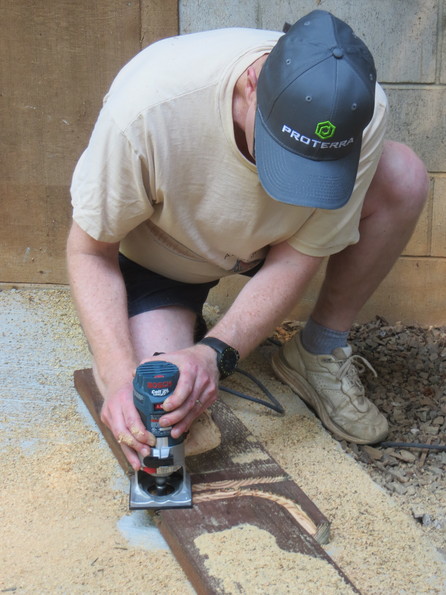
Step one is the ledger board. The original deck didn’t have a ledger board and thus, didn’t have any flashing. Based on today’s code for deck building, the original design is a bit suspect, but it did stand for over 40 years. We started by snapping a chalk line for the ledger board and then snapped a second line a bit higher for the flashing. We’re using a z-flashing that will be caulked into the siding just above the ledger. Cutting the slot for the flashing with all the trim in place was a bit of a challenge. There are also conduits with ground wires running from the electrical panel crossing the area where the ledger goes. My plan was to route slots in the back of the ledger board to provide clearance for the conduit.
With the ledger board up, it was time to figure out how to cut the posts to the proper length. Each post needs to be a different length so we started at one end and set a temporary joist to mark post + beam height. Cutting the 6×6 posts was another challenge. The circular saw doesn’t cut quite deep enough to cut all the way through. The miter saw has even worse depth. We ended up using the circular saw to cut all four sides and then a hand saw to cut the last bit.
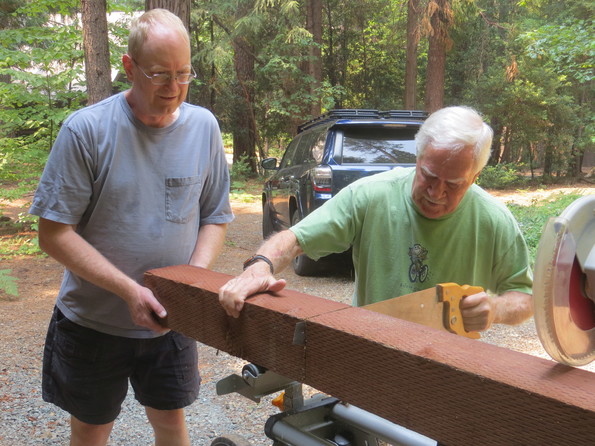
With the posts installed, it’s time to add some beams. We’re using 2 2×12’s laminated together for the beam. Those will be attached to the post with a couple adjustable post cap brackets. My original BOM list had these listed but they didn’t make it to the actual order. Without those, the beam can’t be installed. Without the beam, we can’t start installing joists, in other words, we’re done for the weekend.
Overall we made pretty good progress and finished what should be the most difficult parts of the assembly.
Deck deconstruction
Replacing the deck has been on the list since day one. It appeared to be pretty much original to the cabin and probably needed replacing about 10 years ago. Some of the structural components have failed from rot and there are couple of areas where the decking has failed resulting in holes. The railing is more decoration than function. A while back we submitted our deck replacement design to the architectural committee and got approval to replace it. We got as far as adding some new footings.
We finally pulled the trigger and ordered most of the material to build a new deck. That meant it was time to start tearing down the old deck. The plan is to start with the front deck.
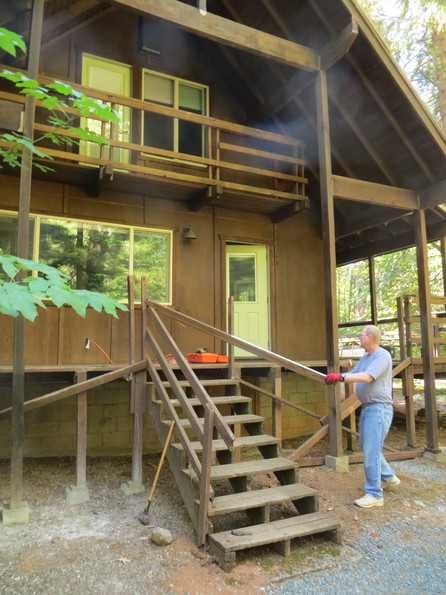
It only took a couple of hours to tear down the front part of the deck. That filled up the trailing and it took just about as long to unload it at the dump. On the way back from the dump we picked up 26 bags of cement. We then spent the rest of the day mixing cement to create new pier blocks for the footings and a sidewalk leading to the crawlspace door.
Tuesday, January 16, 2018
We have a desk!
The utility room desk/cabinets are finished.
Since our last installment, the counter top guy came up and measured for the top. We also installed the drawer handles. I found this handy little jig Euro Handle It which made installing the drawer pulls a breeze. Since we’re winding down on the remodel, I had taken some of my tools back home. Of course the tools I needed to do the cabinet trim work were among them.
A couple of weeks later the counter top guy was back to do the install. He does really good work and it turned out perfect.
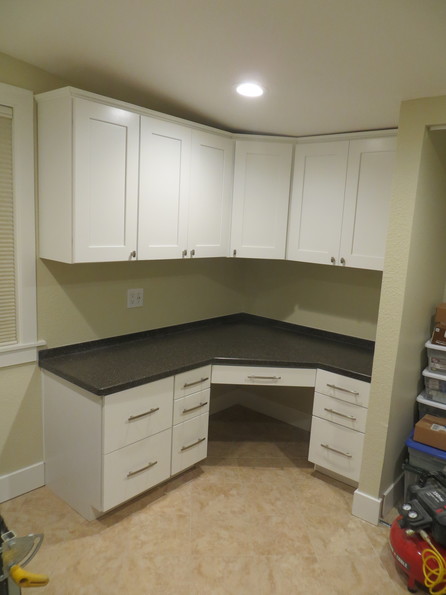
I also remembered to bring up the air nailers and we were able to get the crown, toe kick and side trim installed. There was also some trim that mounts under the cabinets (to help hide the upper cabinet bottoms from view), but we were shorted by about 1 foot so that didn’t get installed.
We’re really happy with how the desk turned out.
The TODO list for the utility room is getting pretty short. We still need to finish painting the closet door and get a shelf/hanger rod installed and we want to put some shelves over the washer dryer.
Now that we’re not so busy actually remodeling we’ve been taking some time to explore the area a bit more. We took a day to go back to Big Bald Rock park, this time with the dogs since the temperatures were reasonable. This gave Sandie a chance to try out her new hiking booties. Turns out she’s not real fond of booties.
She’d rather just sit on the rock and enjoy the view.
We also took a day trip to the Honey Run covered bridge. It’s got a nice little park and the bridge is one of only 12 covered bridges left in California. It is also the only one with it’s type of construction. It was recently refurbished and looks great. About 5 miles from the bridge, in the small town of Centerville, there’s a museum that worth a look.


