Wednesday, January 4, 2017
Snow Days
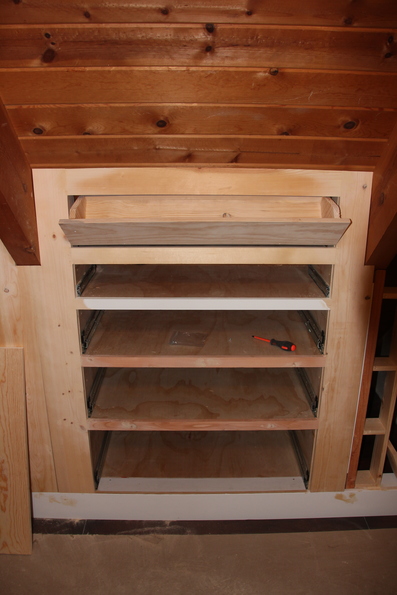
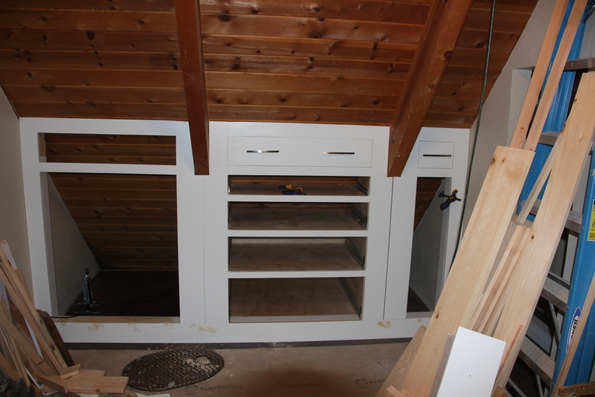
This year we decided to ring in the new year at our cabin. For the most part, this was going to be a working weekend, but with the promise of multiple days of snow, it was also an opportunity to play in the snow. The first couple of days brought a dusting of snow so we mostly worked on the front bedroom. With the carcass parts pre-cut at home, we were able to assemble and test fit it without too much trouble. A little bit of trimming in the back was necessary to get a good fit, but it is now ready for drawers. With the carcass in place, the trim could be built, followed by the tip out drawers.

We also built the tip out drawer that fits above the bookcase. With all the trim pieces complete, it was time for paint, one coat of primer and then some trim color and it was ready. All the trim on one side was installed.

The bookcase trim is ready, but not yet screwed in place. The tip out drawer faces for the rest of the sections were cut and fit, but the drawers themselves still need to be built. All that’s really left is the doors and drawers, most of which will need to be built at home.
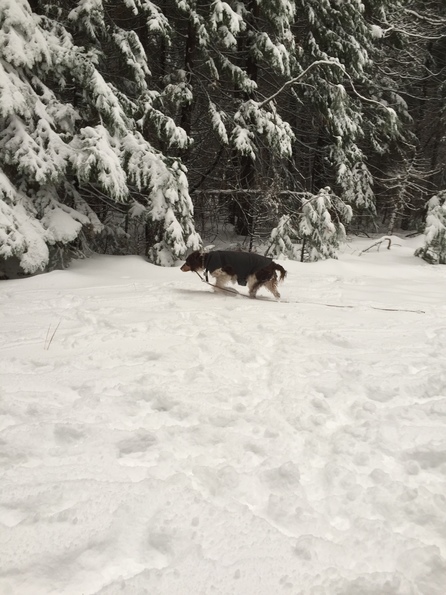
We took the opportunity while paint was drying, to go play in the snow. Heading up the hill about 10 miles, we found a good place to pull off and let the dogs run and play in the snow. Sandie did a bit of exploring.

while Duke had fun catching and eating snowballs. After a bit, Sandie was shivering so we packed them up and headed back to the cabin.
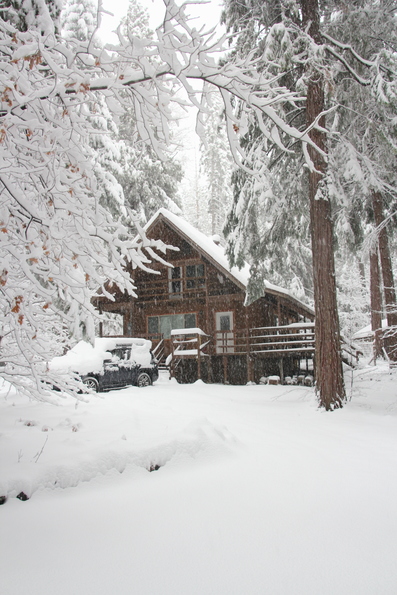
We woke up on our last day to find everything covered in snow and the power out. Without any indication of how long it would take for the power to come on and with the snow continuing to fall, we decided it would be best to pack up and head out. But not before driving around the neighborhood and getting some pictures of Merry Mountain in the snow.

This is the most snow we’ve seen since we bought the place and it really is beautiful. We’re now looking forward to more snow days.
Todo list
Back bedroom
-
Dog cubby baseboard -
Dog cubby outside trim -
Figure out knee wall design -
Knee wall door trim -
Build/install bookcase -
Install hangers for clothes -
Install drawer carcasses -
Install drawer boxes -
Install drawer trim -
Install baseboard - Trim wall to ceiling corners
- Install conduit for ceiling fan — almost finished
- Build new ceiling fan mount
- Install new ceiling fan
Front bedroom
-
Paint balcony door -
Frame knee walls - Trim knee walls
- Door for closet
- Bookcase for knee wall
- Drawers and doors for knee walls
- Install baseboard
- Install wall to ceiling corner trim
- Install conduit for ceiling fan
- Build new ceiling fan mount
- Install new ceiling fan
- Install grill cover for vent fan
- Install window blind

