Tuesday, January 17, 2017
It all looks the same to me….
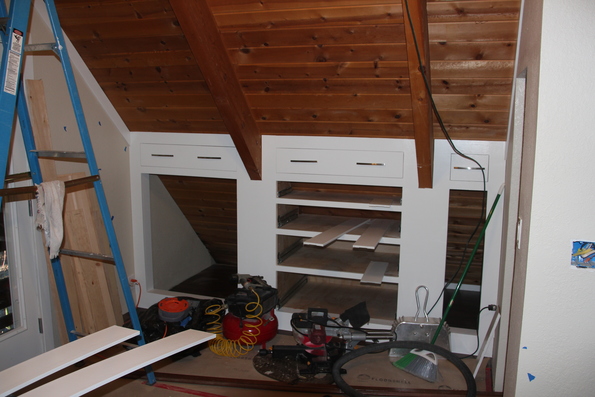
Checked a couple of things off the list this weekend. We started by finishing up the tip-out drawers. Having done this before made the process go really smooth. Fit the drawer faces, install the hinges, build the drawers, paint the drawers, install the drawers. Being able to do 3 at once made it go relatively quick. But still, it took a day to get them finished. While waiting for fill and paint to dry on the tip-out’s, the trim was filled, sanded and painted.

While painting the bookcase, I noticed that the back was not really attached in the middle. I thought I had glued this, but apparently, it didn’t take without some mechanical fasteners to hold it in place. It’s a tight fit, but possible to crawl back behind the bookcase. So with a few screws, the back is now solid.
Since we did have to wait a bit for both filler and paint to dry, we used the opportunity to clean up the room a bit. You can’t really tell from the pictures, but we cleared out most of the scrap wood and move out some of the other supplies that we shouldn’t need up there anymore (which is undoubtedly wishful thinking).
The last to be done for the kneewalls are the doors and drawers and those will be built (or at least cut) at home. So it was on to the rest of the room trim. We had stacks of trim that was just waiting for installation. The baseboard had been sitting out on the deck to keep it out of the way. Unfortunately, even though it’s mostly protected from the elements, some of it still got wet and swelled. There was almost enough usable to do the room, almost.
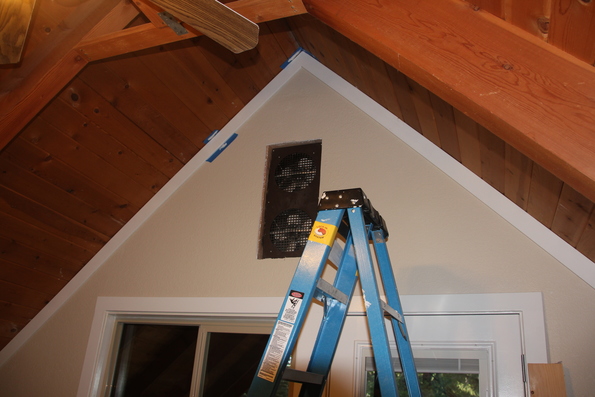
There is one disadvantage to having all the various trim boards on-hand for months before using them. We’re using 3 types of trim boards; 5” plain baseboards, 3 1/2” plane door/window casing, and 3 1/2 baseboard. The 3 1/2” baseboard is being used to trim the wall to ceiling junctions as shown below.

It looks good, doesn’t it? That’s attempt #2. The differences between 3 1/2” casing and 3 1/2” baseboard are subtle. The casing is a bit thicker and has a round-over on both sides. When they’ve been sitting together for months (years?), you tend to forget that. Attempt #1 had almost all of the ceiling/wall trim done with casing before realizing that we were using the wrong trim. In our defense, it was after dinner and the casing was at the top of the piles.
Todo list
Back bedroom
-
Dog cubby baseboard -
Dog cubby outside trim -
Figure out knee wall design -
Knee wall door trim -
Build/install bookcase -
Install hangers for clothes -
Install drawer carcasses -
Install drawer boxes -
Install drawer trim -
Install baseboard - Trim wall to ceiling corners
- Install conduit for ceiling fan — almost finished
- Build new ceiling fan mount
- Install new ceiling fan
Front bedroom
-
Paint balcony door -
Frame knee walls -
Trim knee walls - Door for closet
-
Bookcase for knee wall - Drawers and doors for knee walls
- Install baseboard
- Install wall to ceiling corner trim
- Install conduit for ceiling fan
- Build new ceiling fan mount
- Install new ceiling fan
- Install grill cover for vent fan
- Install window blind

