Monday, June 27, 2016
Nailed it!
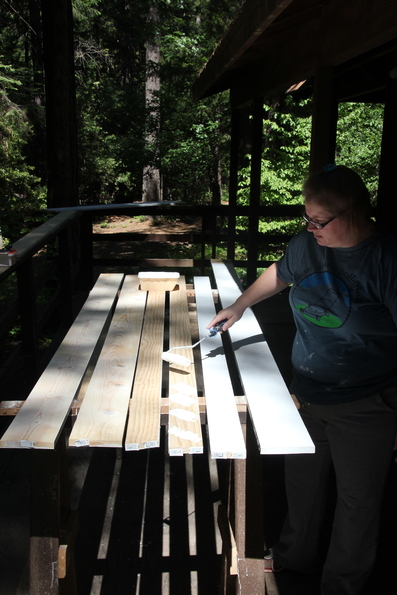
More trim boards, more fill, primer, paint. We tried to get a bit of head start by doing some of knot filling at home so we could start the weekend with trim board primer bright and early Saturday morning. Genny spent a lot of time painting.

While the paint dried … we were able to continue with some of the trim upstairs. We continued working on dog cubby #2 by installing the inside baseboard and ceiling trim. The top horizontal rail wasn’t fitting right and in the process of trying to nail it in place, on nail decided to exit the wood and enter my finger. Not much blood, but it did swell up and was pretty stiff for the next couple of days. Yup, nailed it good! After more fiddling with that top rail we determined that there’s something funny going on with the roof at that point. It looks like the roof boards curl up making the outside about a 1/4 inch higher than the inside, and this is over a 32 inch span. The board is going to need a taper to get the bottom of it level. Everywhere else, things line up pretty good.
Having enough boards and getting them all painted on Saturday make Sunday a productive day. Other than the top rail for the one dog cubby, all four cubbies are trimmed and ready for doors.
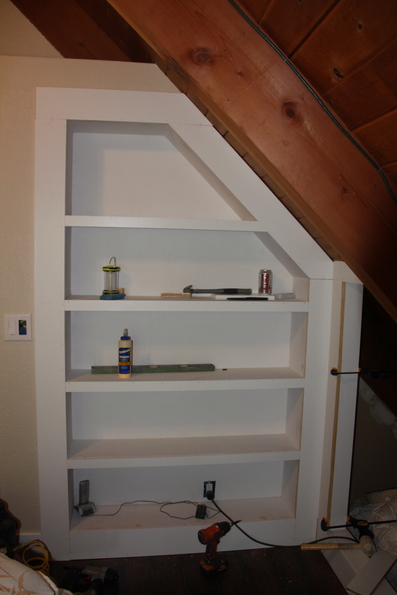
We were also able the get the bookcase trimmed (mostly). If you compare with last week where we just installed the carcass, it looks much better with trim.

What you can’t see from the picture is that the last shelf trim board is not attached yet. We ran out of biscuts (one short). You also can’t see all the gaps that need to be filed and sanded.
And one more thing. We had been using the bookcase area as a temporary closet of sorts and hanging clothes there. That obviously won’t work anymore with the bookcase installed so we added some hooks on the wall on other side of the door so we still have a place to hang clothes.
Back bedroom
-
Dog cubby baseboard - Dog cubby outside trim
- Figure out knee wall design
- Knee wall door trim
-
Build/install bookcase -
Install hangers for clothes - Install drawer carcasses
- Install drawer boxes
- Install drawer trim
-
Install baseboard - Trim wall to ceiling corners
- Install conduit for ceiling fan
- Build new ceiling fan mount
- Install new ceiling fan
Front bedroom
-
Paint balcony door - Frame knee walls
- Trim knee walls
- Door for closet
- Drawers and doors for knee walls
- Install baseboard
- Install wall to ceiling corner trim
- Install conduit for ceiling fan
- Build new ceiling fan mount
- Install new ceiling fan
- Install grill cover for vent fan
- Install window blind

